
The Day I Fought for Just a Few Centimeters — Designing an Entrance the Seven Could Actually Use
The third constraint was, in many ways, the most “Seven-like” problem of them all.
It wasn’t just about having enough space to park the car—it was about ensuring the movement, the actual in-and-out path, would work.
This was a design challenge tied directly to how the Seven behaves.
① Why I Chose a 200 mm Gap — and the Resolve Behind It
To have the garage shed treated legally as a “separate structure,” I needed to leave a gap between it and the house.
The builder told me, “We’d really like at least 450 mm.”
A perfectly reasonable dimension when you consider exterior wall work and roofing.
But I had my own circumstances.
To secure enough clearance for the Seven to enter and exit, I wanted to widen the opening by even one more centimeter.
So I chose a dimension of 200 mm from the house’s exterior wall to the centerline of the shed’s column.
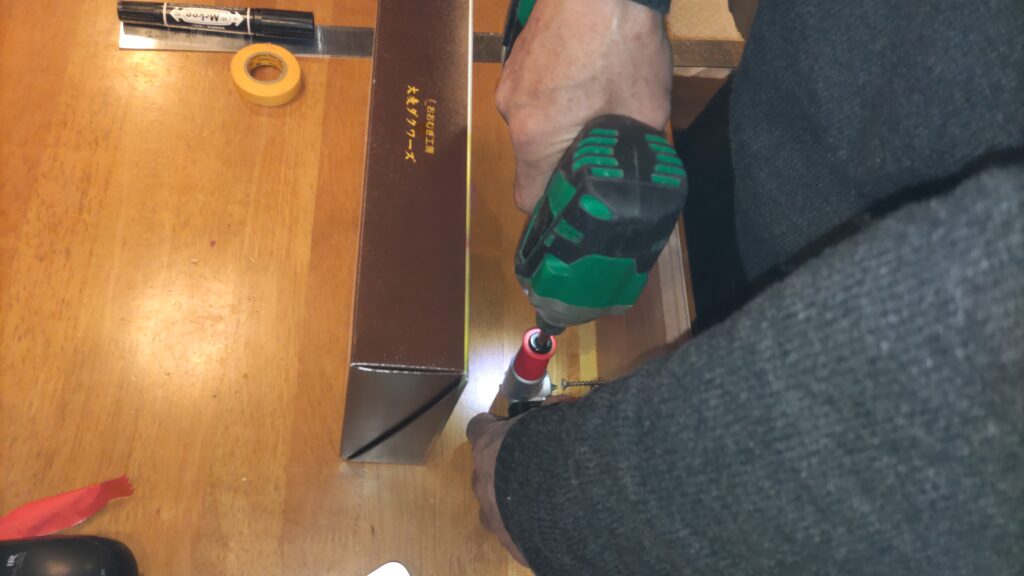
The plan was to install the exterior wall myself, using L‑shaped adapters—just enough room for an arm, a tool, and a screw to barely fit.
(I’ll review the tools and methods when I actually get to that part of the build.)
I did try sticking my arm into a 200 mm gap to test it, but honestly, I won’t know if I can really pull off the construction until I’m doing it for real.
② A Total Clearance of 67 cm — and How I Chose to Divide It
The garage opening is 2.25 meters wide.
The Seven is 1.58 meters wide.
That leaves only 67 cm of clearance.
Of that, I allocated 50 cm to the driver’s side and 17 cm to the passenger side.
At this point, it wasn’t about dimensions anymore—it was about resolve.
This garage isn’t a place to gather around a table with friends and hang out.
There’s simply no room for that.
This space exists for one purpose only:
a minimal yet maximally meaningful place to welcome the Seven.
If there’s one thing I can say, it’s this—
I’m glad it doesn’t have doors. (laughs)
These dimensions only work because it’s a Seven.
③ A Small Adjustment to Maximize the Shutter Opening
The width of the shutter opening is the single most important factor in determining how easily the Seven can enter and exit.
So I consulted with the builder and the carpenter, and we decided to shift the shutter’s right‑side mounting position further to the right than usual.
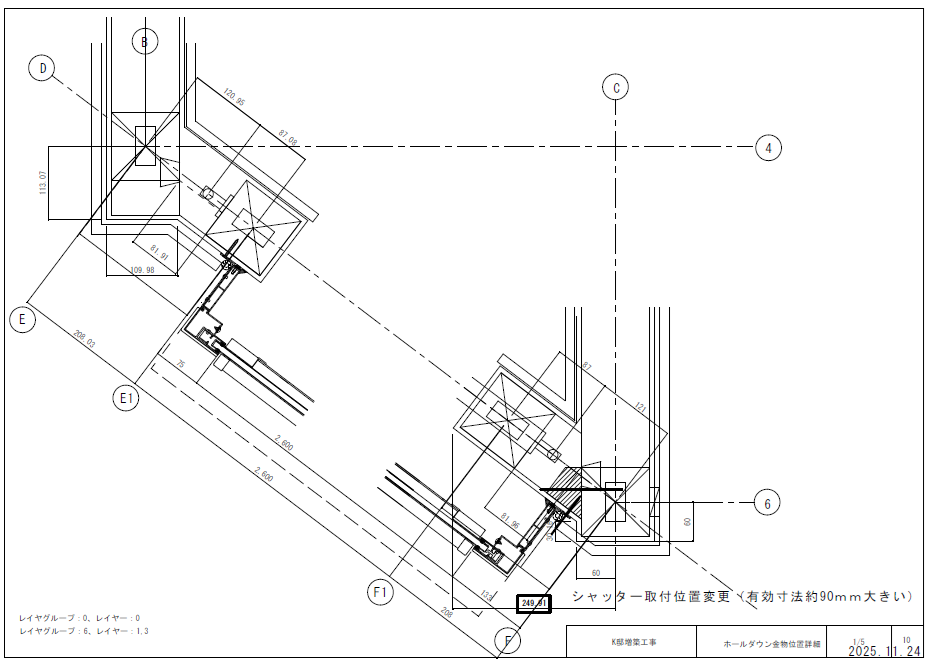
Gaining 9 More Centimeters — A Small Change With a Big Impact
As a result of shifting the shutter’s mounting position, the opening widened by 9 cm.
Just 9 centimeters.
But for the Seven’s entry and exit, those 9 centimeters translate directly into peace of mind.
I’m certain that, later on, I’ll look back and think, “I’m glad I did that.”
④ Assuming I’ll Move the Seven In and Out Without Starting the Engine
I also planned for the possibility of moving the Seven in and out without starting the engine.
To make that feasible, I minimized the level difference between the garage and the road.
However, making it completely flat would risk rainwater flowing back in during heavy storms.
So I added the smallest possible slope—just enough to prevent flooding, but still easy to push the car over.
This was a design choice made to
protect both daily life and the Seven.
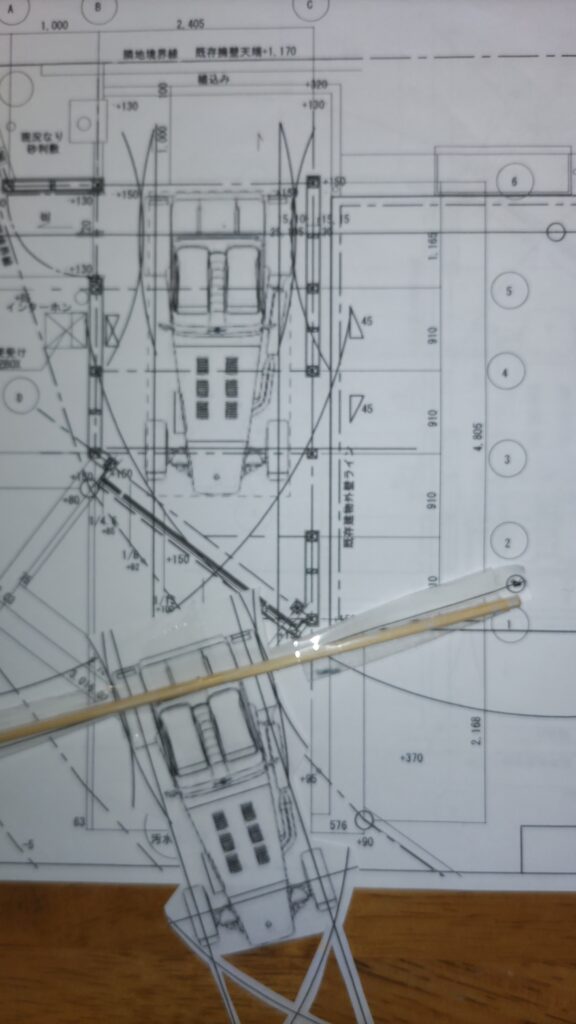
⑤ Imagining the 5.0 m Turning Radius Over and Over on Paper
The Seven’s minimum turning radius is said to be about 5.0 meters, so I simulated the backing‑in process on the drawings again and again.
Reversing in, adjusting the angle, the path for getting in and out—
I repeated the sequence countless times on paper.
However, I Always End Up at the Same Conclusion
In the end, I always arrive at the same conclusion:
“I won’t know until I actually try.”
The drawings can’t tell me everything, and I don’t have prior experience to rely on—
so much of this is feeling my way forward.
If this were my job, a designer like me would probably get scolded.
🛠️ Before the Next Episode: A Special Edition — “Preparation Work”
Before moving on to Episode 5, I’ll summarize the preparation work that formed the foundation for building the garage shed.
- Relocating the electric meter
- Removing unnecessary telephone equipment
- Relocating the air conditioner
- Repainting the exterior wall
- Removing the storm shutters
- Other repair work
A Garage Shed Can’t Be Built All at Once
A garage shed isn’t something you can just start building out of the blue.
Before that, the house itself needed to be “prepared to welcome” the new structure.
🔜 Next Episode Preview: Episode 5 — “The Morning the Foundation Work Begins”
Construction finally begins.
The story shifts from drawing to building.
